Flipchart Page Management
Prerequisites: flipchart-based activity started, Design mode enabled
What to do:
Go to the menu in the upper part of the screen, which starts with the “Design” button.
The third option is Page management.

When you click on it, you will then have access to the following:
Rename pages – write down the title in the dedicated field you see at the bottom of the page displayed in the Page management section
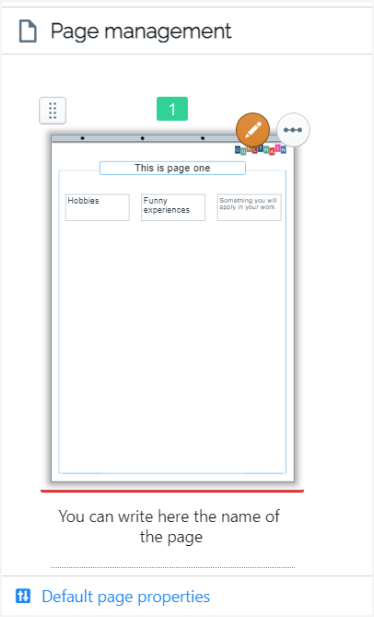
This way, you and your delegates will refer to a specific page by its name instead of just mentioning its number. While in the page navigator in the top menu, the page’s name is displayed below the page’s number.
If you want the page’s name displayed here while working on the flipchart page, click the pin icon on the left – “Toggle always shows current page name”.

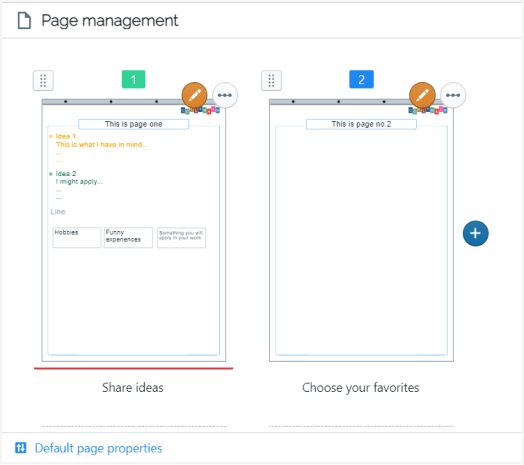
Add new pages
Section titled “Add new pages”Click on the blue “+” button displayed after the first page in the series
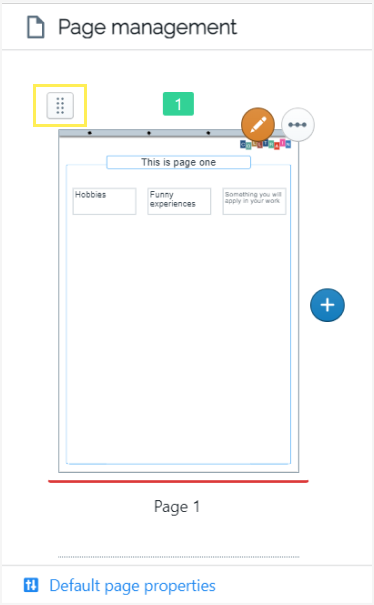
Change the order of the pages
Section titled “Change the order of the pages”Click on the dotted button you see in the top left corner of each page displayed in the series, then drag it to the desired position
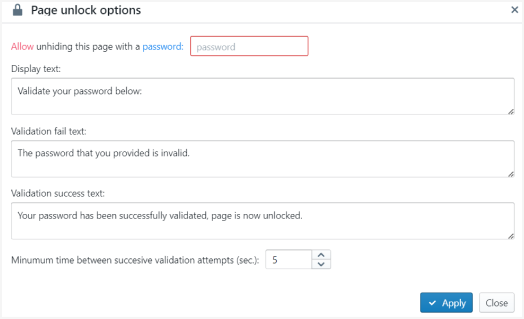
Duplicate, delete, hide or lock pages
Section titled “Duplicate, delete, hide or lock pages”Click on the three dots in the top right corner of the page displayed in this section, then choose the dedicated option from the short menu that emerges.
For the locking option – when you switch to “Allow unhiding this page”, you are then able to set a pin code for this action, the texts to be displayed before and after using the pin code (for the fail or success validation) and the minimum time between successive validation attempts (sec.)
Edit page properties
Section titled “Edit page properties”Click on the pencil icon in the page’s top right corner.
See more here: “Customize Flipchart pages.”