Flipchart Objects – Images
Hint: By using Images, you can spark collaboration and creativity among training participants.
Prerequisites
Section titled “Prerequisites”A flipchart-based activity started
How to use Images with a flipchart
Section titled “How to use Images with a flipchart”To use images, click on the “Images” icon in the toolbar on the left of the screen. A secondary panel will emerge to the right.
You have two options: use an image from your computer or from the internet or choose one directly from Unsplash.
Use an image from your computer or from the internet
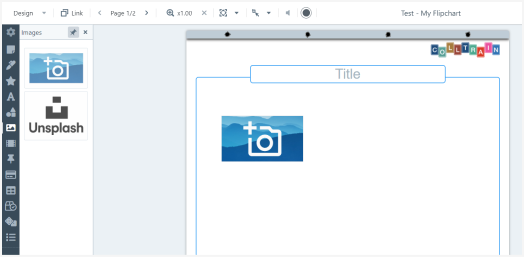
Section titled “Use an image from your computer or from the internet”Click on the first icon in the second panel that emerges to the right when clicking on the Images icon in the toolbar
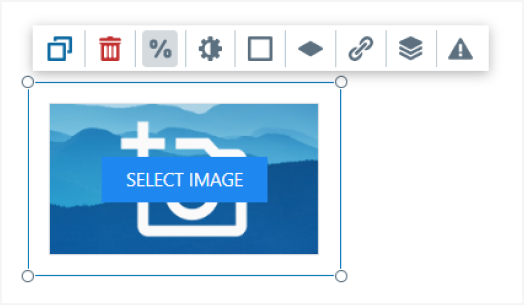
Enable Design mode
Click on „Select image“
In the new window that pops up using Drag & Drop or Browse to add an image from your computer. Drag and drop the image in the grey area at the bottom of this window. It will be uploaded and displayed in the upper part of the window.
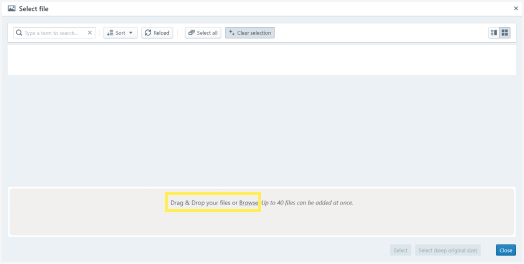
Click on the image to select it and then click „Select“. This will rescale your image to the default size of an image in Colltrain; you can adjust the size by pulling from any corner of the object. You can also select the second option “Select (keep original size)” if you want to preserve the original size of the image.

To insert an image directly from the internet click on the „Set URL“ button in the object toolbar. This option does not require to have Design mode enabled and can also be done by any participant while running the activity (if you allow it).
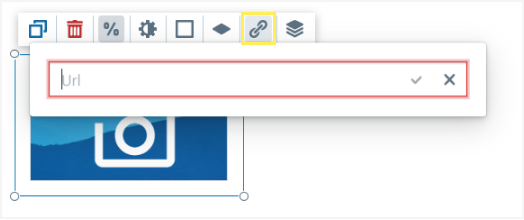
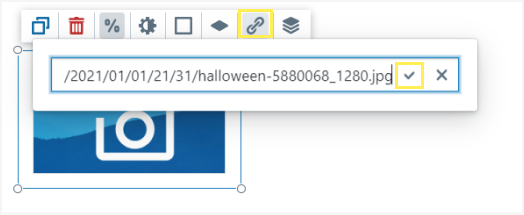
Paste the URL address of the image then click on the check mark button next to the address field.
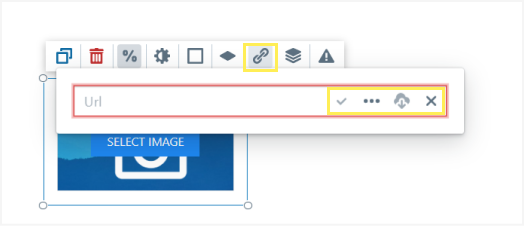
When the Design mode is enabled and you click in the object toolbar on the “Set URL” option, you have access to the following four options:
- Checkmark to set URL (see details above)
- Browse the file (three dots icon): click on it to open the activity file and browse through the images uploaded so far within the current activity
- Set URL and download to activity files: if you used an image’s URL to embed it in Colltrain, you can click on this option to download it in the activity file and reuse it on any other page of this activity, without having to look for the URL on the web once more. This option is not available when you use images from your computer file.
- Set default URL: this clears the image you embedded in the Image object and makes room for you to set another one
Get pictures from Unsplash
Section titled “Get pictures from Unsplash”Click on the Unsplash icon in the secondary panel that emerges to the right when clicking on the Image icon in the toolbar.
A window will pop up allowing you to search for any image in the Unsplash library. You can search for a specific image by typing in a keyword in the search engine at the top of this window and filtering them by their orientation (portrait/landscape).
Place your mouse pointer on the image you want to use and then click on the „+“ button in the top right corner of the image.
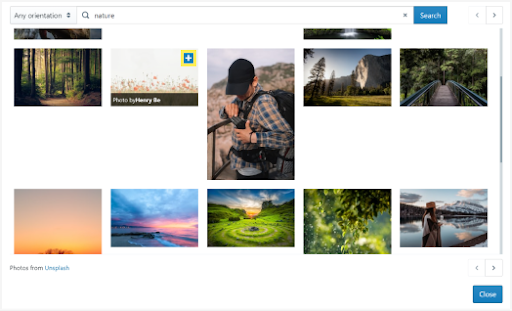
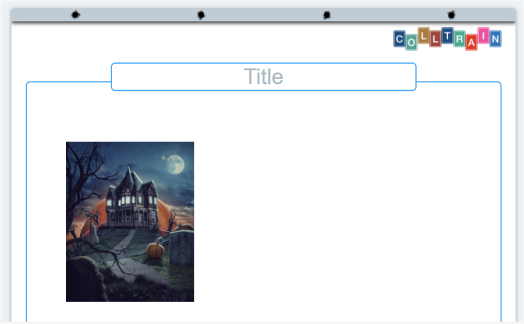
Then hit the “Close” button in the bottom right corner of the window. You will return to the flipchart where you will find the selected image already displayed on the page.
Edit images
Section titled “Edit images”While hovering over the object, the toolbar will become visible above it. Here you can access a list of options: the first two on the left are Duplicate and Delete the image.
Preserve aspect ratio
Section titled “Preserve aspect ratio”By default, this option is enabled so it can help you preserve the aspect ratio when resizing the image by pulling from a corner. If you disable it when you resize the image you have to pay attention to manually adjust the aspect ratio.

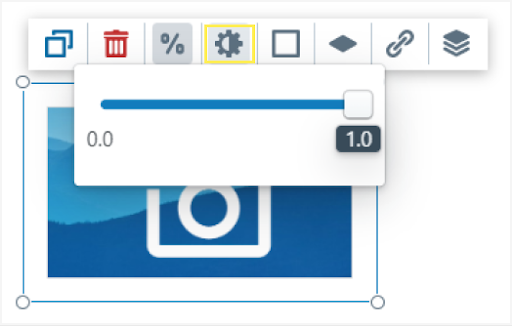
Opacity
Section titled “Opacity”Set a specific value by gliding the button to the left/right. You can then set the same value to other objects as well.
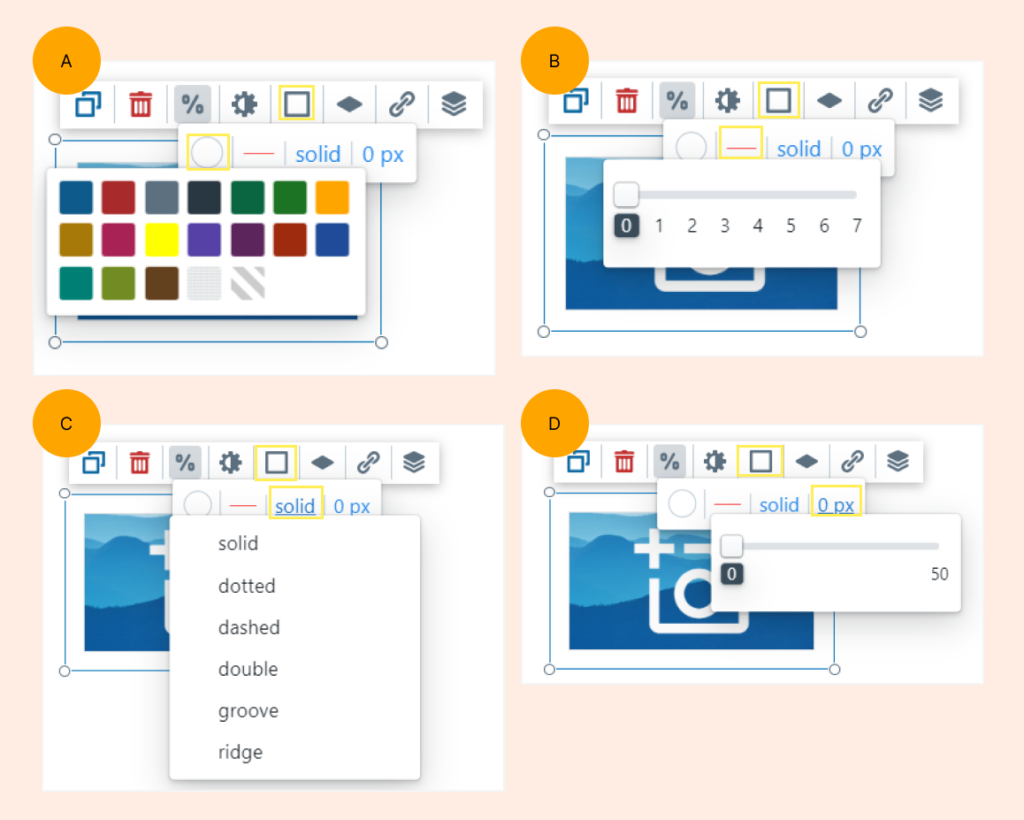
Border options
Section titled “Border options”Border colour: select a colour from the current chart or set it to transparent
Border width
Border style: choose one from the 6 available styles
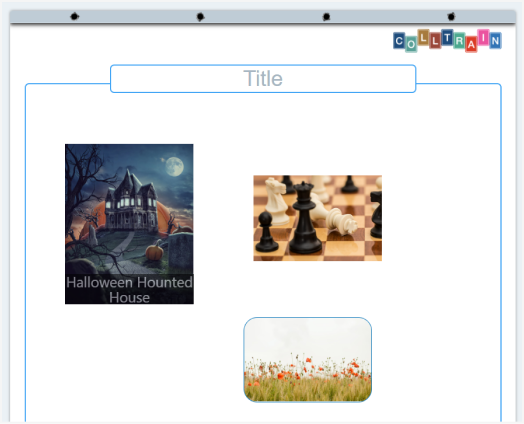
Border radius: you can round the border’s corners to give them a soft edge or even create labels from the images you import here
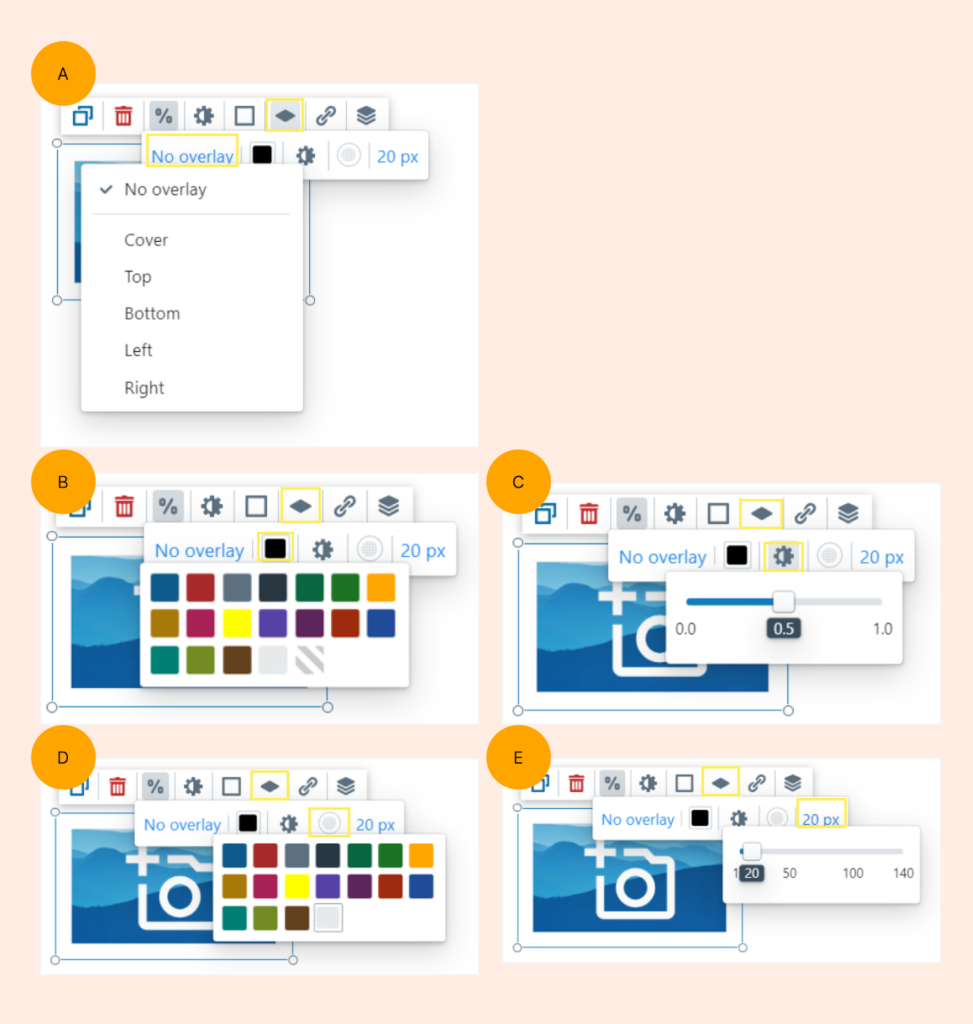
Overlay
Section titled “Overlay”Set the aspect of the overlay by editing the following attributes:
- Position, (B) Colour, (C) Opacity, (D) Text colour, (E) Font size
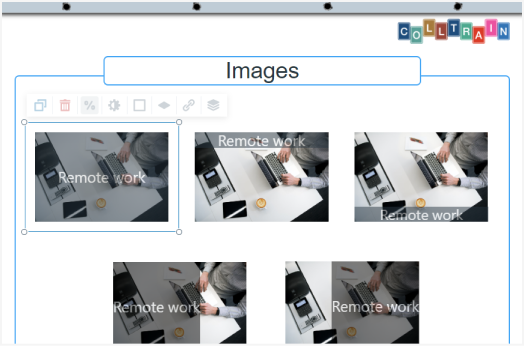
Here’s an example of overlay position
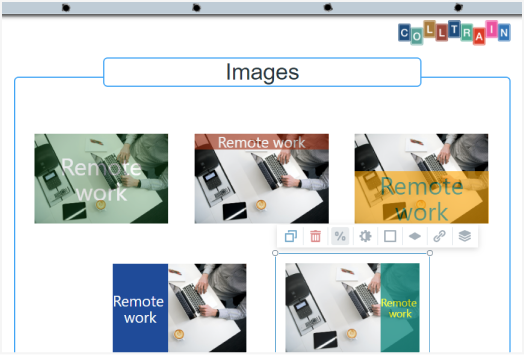
An example of an image with different overlays
Set URL
Section titled “Set URL”See details above on how to insert an image from the internet.

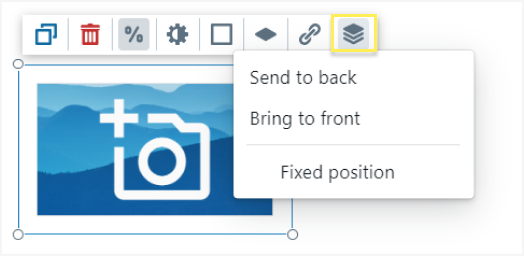
Layers
Section titled “Layers”Set the image to a specific position in regard to other objects on the flipchart (bring to front/back/fixed position)
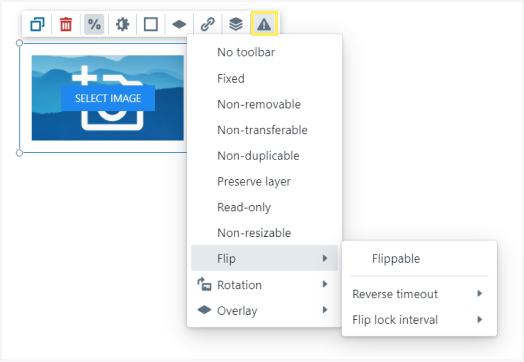
Element behaviours
Section titled “Element behaviours”Behaviours are visible only when Design mode is enabled (see “Object behaviours” page)
Task for you
Section titled “Task for you”Start an activity and insert images from the web or your computer to either highlight the messages or give a hint on the input you’re expecting from the delegates during this activity.