Align Objects on the Flipchart
Hint: When designing new activities, you can use object alignment for a faster and more balanced visual appearance.
Prerequisites
Section titled “Prerequisites”A flipchart-based activity started, and more than 2 objects posted on the flipchart page (notes, icons, magnets, etc.)
To align objects, you need to select them first.
How to select multiple objects
Section titled “How to select multiple objects”Follow these steps to select objects.
- Click on the Selection mode button in the top menu or you can hold down the CTRL key on your keyboard (for manual selection).
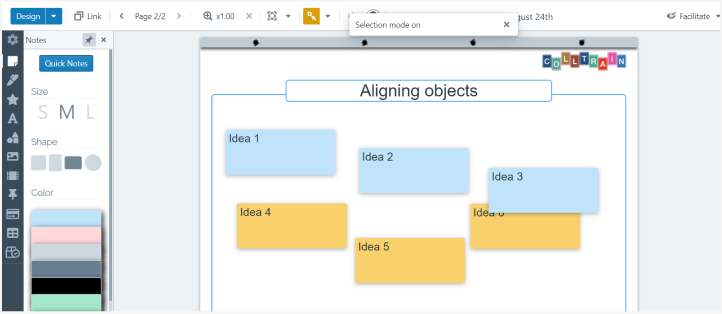
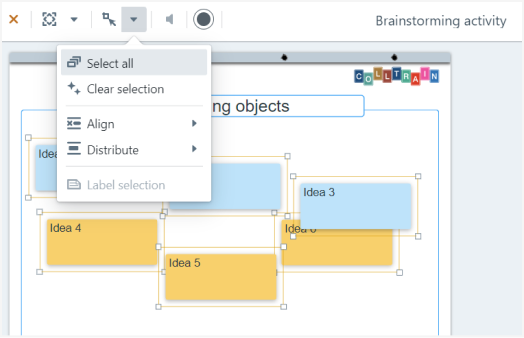
- Alternatively, you may choose “Select all” (the first option in the drop-down menu of Selection Mode)
- When you select objects by CTRL+click you need to select at least 2 objects from the flipchart
Align objects
Section titled “Align objects”For the selected objects you can choose the following options: Align, Distribute, and Clear selection.
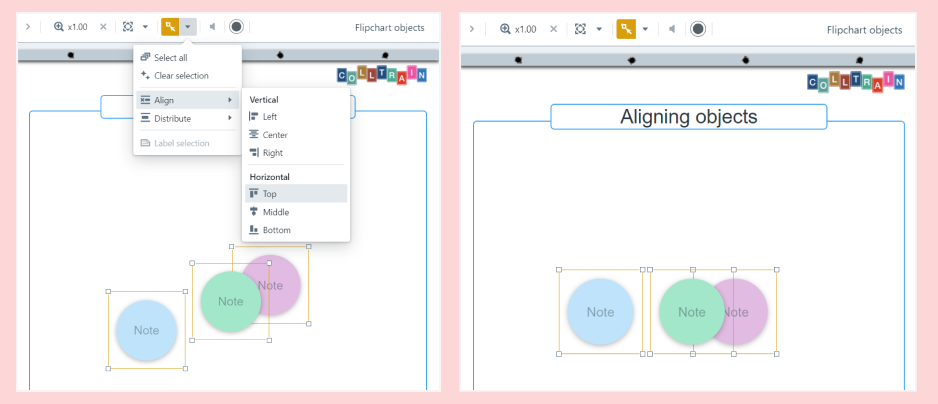
To align the objects posted on the flipchart page click on “Align” and then choose from the vertical and horizontal options that emerge, the one that best fits your need.
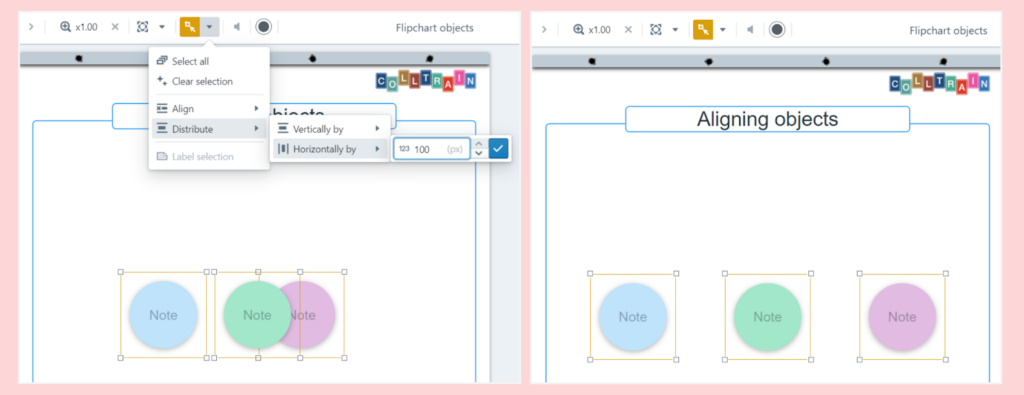
To distribute the objects at a certain distance from each other, click on “Distribute”, then choose the right spacing from the vertical and horizontal options that emerge.
For example, to align the blue notes (see the above screenshots) in a row, on the top of the flipchart page:
- Place the notes in the order you want them to appear, from left to right (if that is meaningful for your activity)
- Click on the Selection mode button
- Click on each blue note to select them
- Click on Align/Horizontal/Top, within the Selection mode menu
- While still selected (do not click anywhere on the working space), click on Distribute/Horizontally by x points
Your task: open a flipchart activity and start working with Selection and Alignment