Hint: Magnets are single-character flipchart objects that can be used as is or be embedded in a table or a note to create attractive visuals. Colltrain magnets were inspired by mini magnets that often land on your fridge.
Prerequisites #
A flipchart-based activity started
Options available for magnet objects #
To use magnets, click on the „A” icon in the Object Toolbar on the left of the screen. A dedicated menu will emerge to the right.
Before you create a magnet on the flipchart, you can choose the following:
- Style: default or tile
- Colour: there are 18 colours in the chart at the moment
- Type of magnet: letters, numbers, or symbols

To add magnets to your flipchart, select the style and colour and then click on one in the collection, or click on one magnet if you want to customise it later.
By default, it pops up in the centre of the page.
To position it right from the start somewhere on the page, follow the steps previously mentioned and drop the magnet on the page.
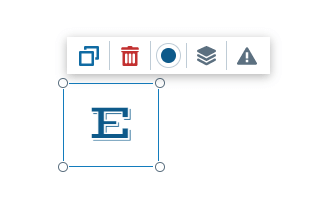
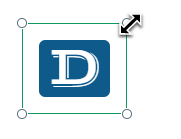
While on the flipchart, you can duplicate, delete, change colour, change the layer or set a specific behaviour for it (see „Object behaviour” section). You can also resize the magnet by pulling from the corner. It can get big, filling up the whole page while maintaining a good resolution.
If you want to insert a magnet in a table into a specific cell:
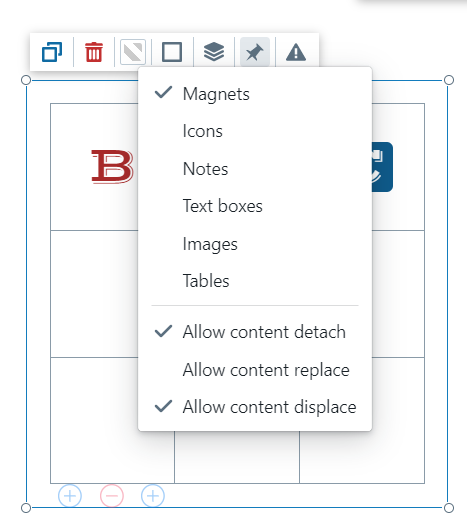
- Make sure that this option is enabled from the Object’s toolbar/Drop target options/Check Magnets
- Bring it closer to that cell till some concentric circles appear (the cell is pulsating to signal the fact that it will embed that object)
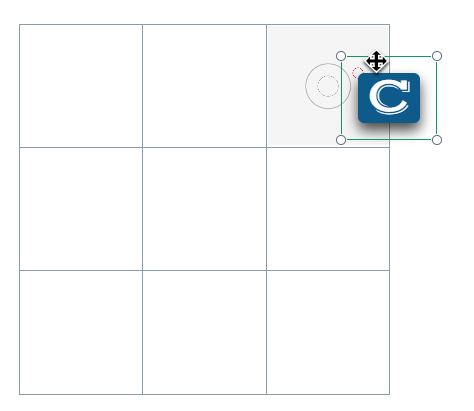
- Let go of the magnet so you can embed it in that cell.
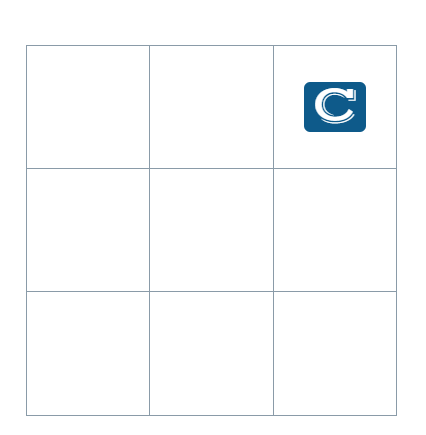
- To extract the magnet, click on the red “x” mark in the top left corner of the cell.
Moving the table on the page will move the magnet along.
These steps also apply to notes inheriting magnets. In the end, it will look like this:

Task for you: create a 3×3 table and drop in a green round note inside the top left cell.


