Hint: Adding web content and video clips can be done quickly using Media objects.
Prerequisites #
A flipchart-based activity started
To use Media objects, click on the Media icon in the toolbar on the left of the screen. A secondary panel will emerge to the right.
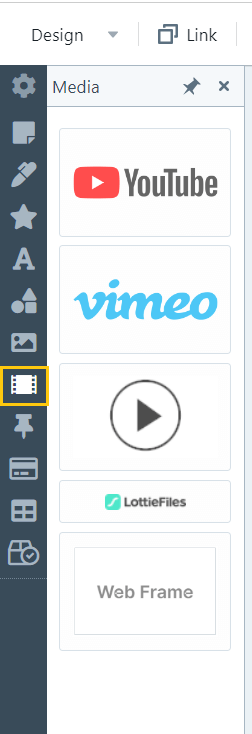
There are five options to choose from:
- YouTube video: embed content from YouTube
- Vimeo video: embed content from Vimeo
- Video: embed video file from your own hosting
- Lottie file: insert dynamically scalable animations based on the LottieFiles format (lottiefiles.com)
- WebFrame: display on the flipchart all types of content you found on the web, without having to download, take print screens or provide the weblink
Chose the one you want to use and click on it. It will pop up on the flipchart.
To insert a media file follow the next steps:
- Click on the “Set URL button” in the toolbar that emerges above the object when you hover over it
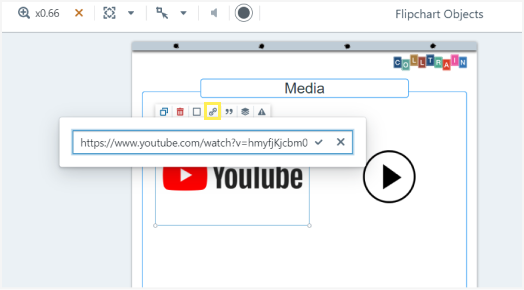
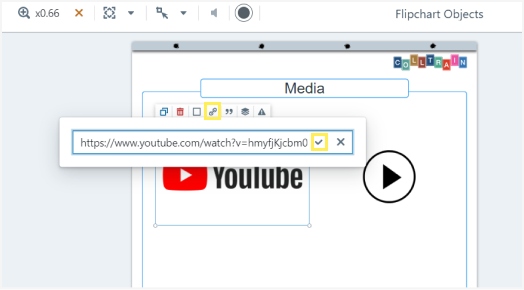
- Insert the Url address then click on the check mark right next to the address. You can set another link here time and again by deleting the previous link and pasting in the new one.
When it comes to LottieFiles, you get the URL following these steps:
- Go to lottiefiles.com and access their library of assets (in the “Discover” tab)
- Click on the one you want to use
- In the window that pops up, click on the first option “html” in the “Use animation in…” section, below the Lottie animation
- It will redirect you to sign in/up. If you are already logged in, please note that you can find the URL link below the Lottie animation and you can copy it by clicking on the respective button next to the URL.
- Copy the link under “Generate code” that appears on the respective page on lottiefiles.com
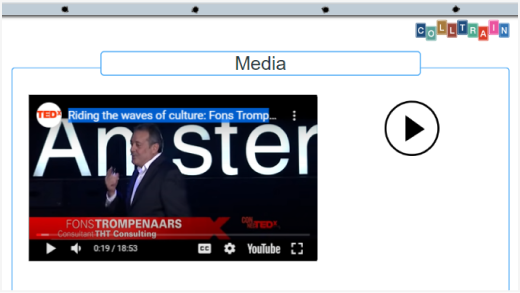
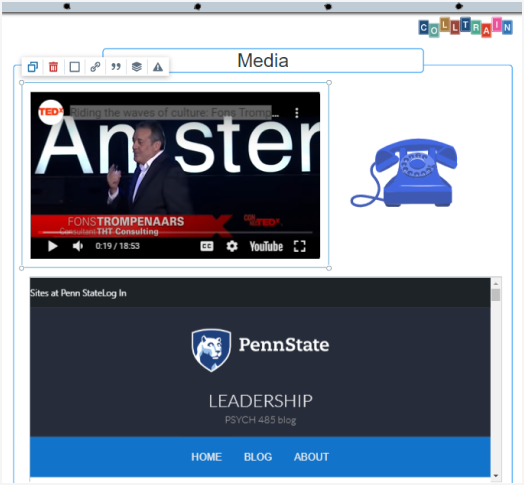
Similarly, you can insert content for the other types of Media objects. In the image below you can see YouTube, LottieFile and WebFrame media objects.
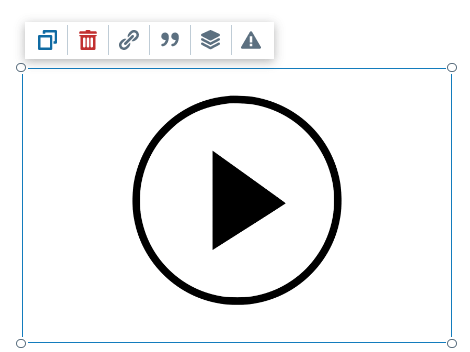
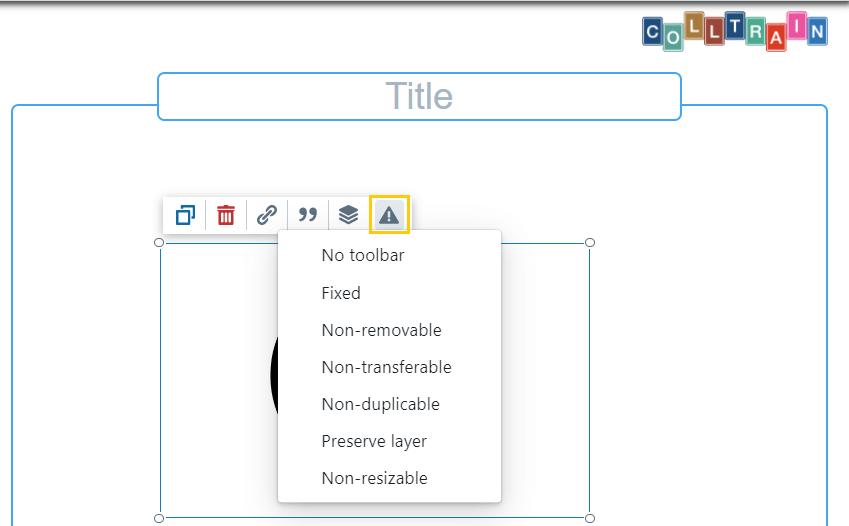
The Media object can be edited using the options in the object toolbar:
- Duplicate
- Delete
- Set URL (see details above)
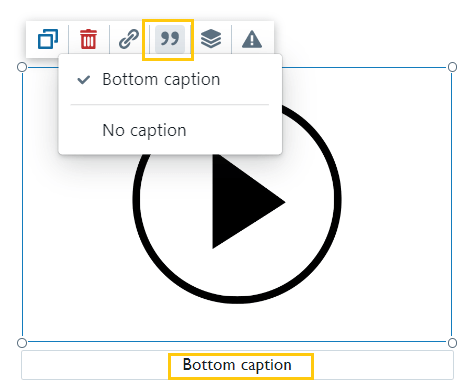
Bottom caption: this is where you can write down the media’s name, the source, the author or any other piece of information that you may find relevant to the content/activity
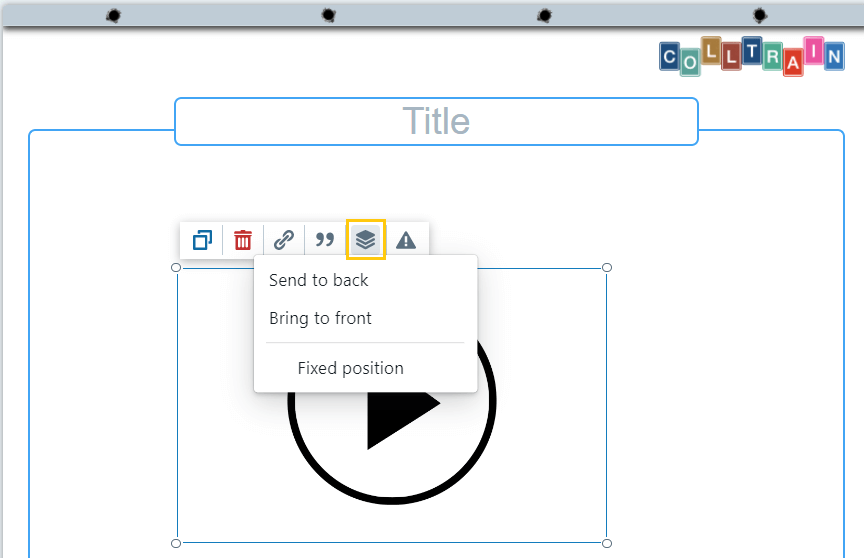
Layers: set the position of the Media object in regard to other objects – in front/behind/fixed position
Behaviours: see more on this topic in the “Object behaviours” section.
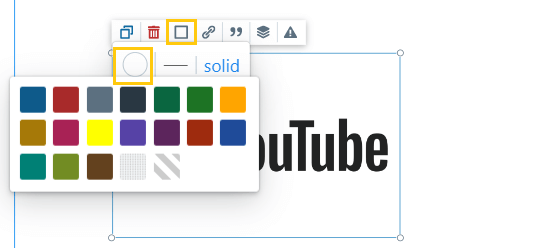
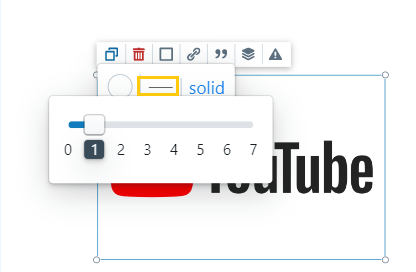
Border: edit the colour, width, and style of the object’s border; available only for YouTube, Vimeo, and WebFrame media objects
Pick a colour from the available chart
Set the border’s width
Choose the border’s style

You can also resize the Media objects by pulling from a corner – the automatic rescaling will help you keep the visual neat.


