Skip to content
Colltrain Docs
  • Docs
Login
Colltrain Docs

Get Started

9
  • Get started with a free Colltrain Hobby plan
  • What is Colltrain
  • Welcome to Colltrain Docs
  • Minimal requirements (computer, browser, network)
  • Colltrain an iPad
  • Start a free trial
  • Cancel free trial
  • Upgrade your plan 
  • Choosing a suitable Colltrain plan

Flipchart

6
  • Flipchart Menu (top bar)
  • Customize Flipchart pages
  • Flipchart – Page management
  • Customizing Flipchart Toolbar
  • Flipchart object browser
  • Element locks

Flipchart Objects

13
  • Flipchart objects – CardLists
  • Add objects to flipchart
  • Align objects on the flipchart
  • Object Behaviours
  • Flipchart objects – Notes
  • Creating sticky Notes in Bulk
  • Flipchart objects – Text Box
  • Flipchart objects – Icons
  • Flipchart objects – Magnets
  • Flipchart object – Shapes
  • Flipchart objects – Images
  • Flipchart object – Media
  • Flipchart objects – Tables

Colltrain Interface

5
  • Activity History Section
  • Share an activity
  • Colltrain Apps – Master activities
  • Filtering activities in Colltrain Library
  • Working with activity packs

Run games and activities

2
  • Moving participants between Colltrain teams
  • Working with Zoom, Microsoft Teams, and Google Meet

Facilitate Menu

3
  • Working with MyBoard
  • Show mouse pointers on the flipchart
  • Content protection
  • Home
  • Documentation
  • Flipchart
  • Customizing Flipchart Toolbar

Customizing Flipchart Toolbar

Hint: Sometimes, you may need to add or hide objects on the flipchart toolbar at runtime. That’s perfectly fine with this option.

Prerequisites #

A flipchart-based activity started

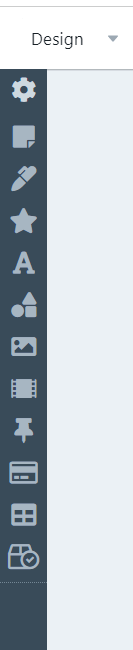
You can find the toolbar section on the left side of the screen.
This is the place to start creating objects on the flipchart.

The toolbar on a flipchart-based activity

How to configure the toolbar #

To start configuring the toolbar, click on the first button.

The “Configure toolbar” window page will open.

Toolbar sections configuration screen

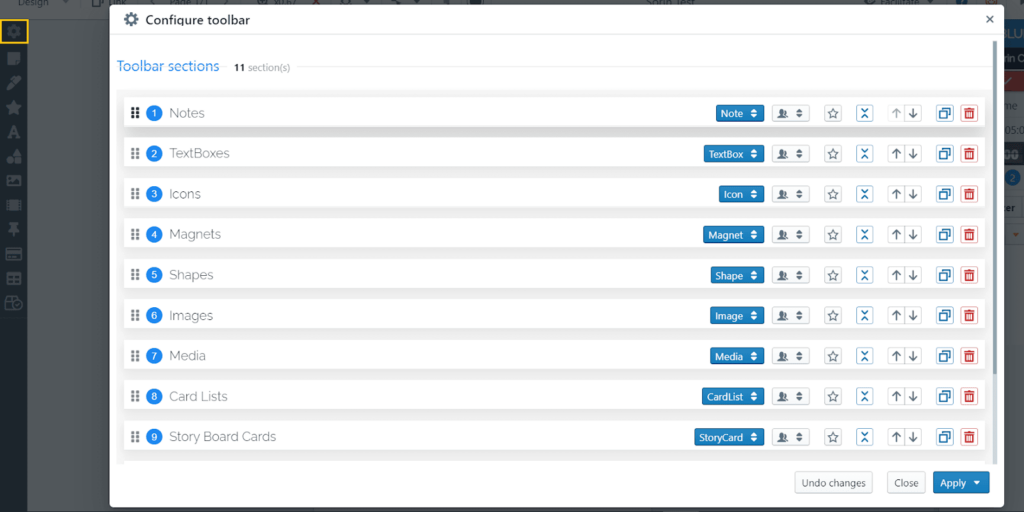
On this page, you can do the following:

Change the order in which the objects will appear at startup.
To do this, drag the items up and down the list from the dotted button at the beginning of each row

Change the order
Change the order

“”Edit the section name by typing it in the respective field. For example, you may want the Notes object to be calle “”Creative Note””””Edit. the section name by typing it in the respective field. For example, you may want the Notes to object to be called”“Creative Notes.”
“”Edit the section name by typing it in the respective field. For example, you may want the Notes object to be called”Creative Notes”
“Edit. the section name by typing it in the respective field. For example, you may want the Notes to object to be called “Creative Notes.”

Edit section’s name

Select the section type by choosing it from the drop-down list

Select section type
Select section type

Section access: you can decide who can access this object while running the activity.

Modify section access

Set a specific flipchart object to open at startup

Open at start-up option
Open at startup option

Collapse or expand the section in the toolbar

Collapse or expand the section

Move up / Move down a section by a position within the list.

Move up or down – Change the position of the section

Duplicate the section 

Duplicate the section

Delete a section

Delete a section - Colltrain toolbar
Delete a section – Colltrain toolbar

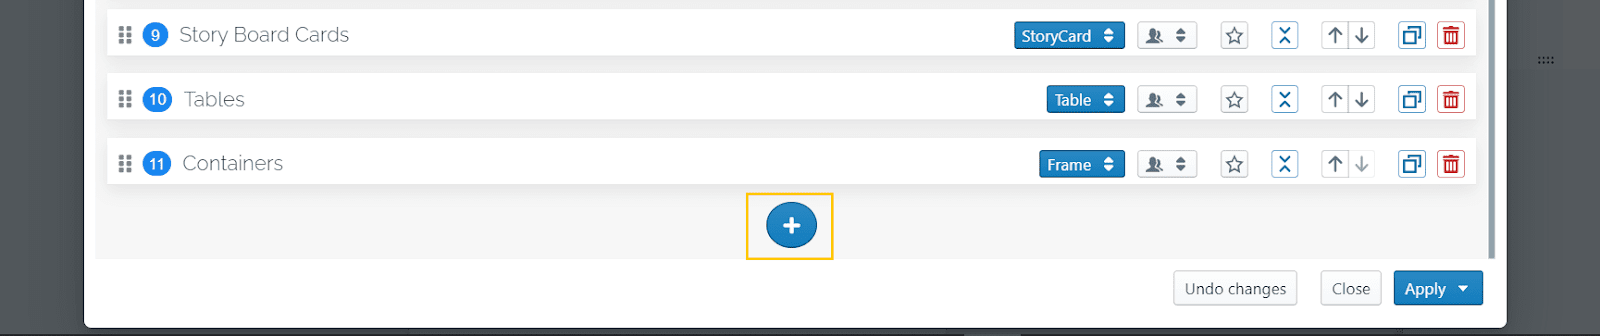
You can add as many sections as you want by clicking on the blue “+” button at the bottom of the list.

Add a new section in the toolbar
Add a new section in the toolbar.

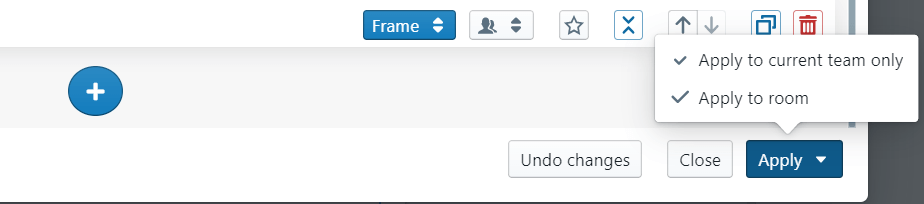
Then you can undo changes, or you can apply changes to the room or only to the current team.

Apply changes -  toolbar customization
Apply changes – toolbar customization

Note: these changes will be temporarily applied for the duration of the activity.
Once you restart the training activity, it will start with the initial configuration. To make it permanent, use “Save activity” from the drop-down list of the Design button.

Your feedback
Share This Article :
  • Facebook
  • Twitter
  • LinkedIn
Still stuck? How can we help?

How can we help?

Updated on November 6, 2022
Flipchart – Page managementFlipchart object browser
Table of Contents
  • Prerequisites
  • How to configure the toolbar

© 2025 Colltrain Docs

  • Docs