Hint: There is a rich list of objects that you can use to design an activity based on the flipchart app allowing you to transform in-class activities into their digital version online.
Prerequisites #
A flipchart-based activity started
Add objects #
Add any object you need from the toolbar on the screen’s left. (see area one on the image below)
When you click on an item, a dedicated panel for that particular object will appear as a secondary menu next to the dashboard. (see area two on the image)
Click on an element, and it will automatically appear on the board. See how you can customise the appearance and behaviour of these objects in the dedicated entry.
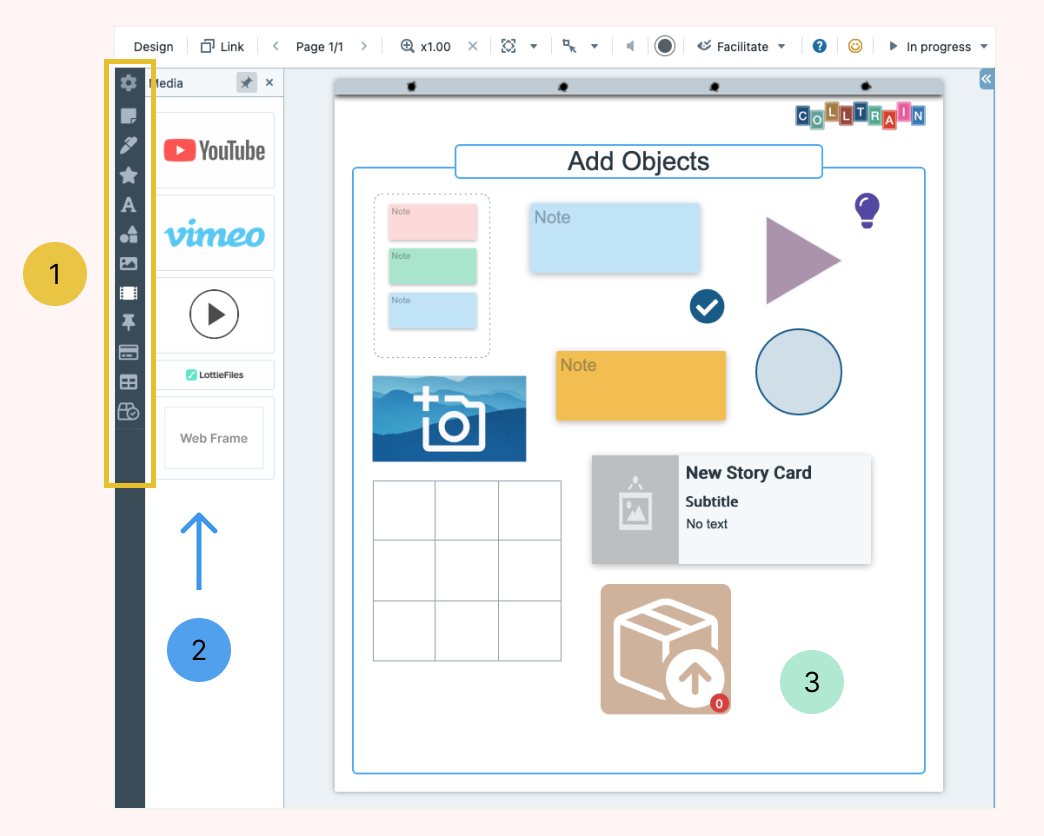
Once you click on the object on the detail panel or click and drag the thing on the flipchart, you can see the object created (see area three in the image above)
The list of flipchart objects:
Notes #
The virtual alternative to the sticky notes we use in in-class sessions to get quick and concise input from delegates.
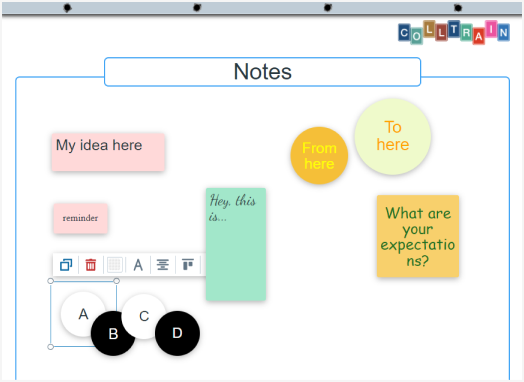
- you can choose the size, shape, and colour from the detail panel (area 2 in the image above)
- use the quick notes option to create notes in bulk – more on this topic here
- to learn how to work with sticky Notes, click here (TBD)

TextBoxes #
An alternative to sticky Notes is to be used when the focus is mainly on the content.
You can also build large headlines with transparent backgrounds
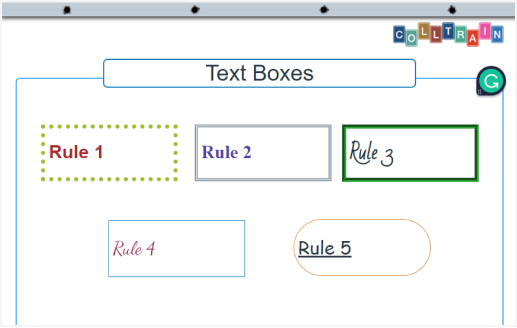
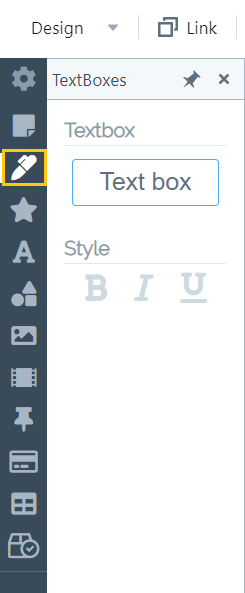
- choose the text’s style (bold, italic, underline) from the detail panel (area 2 in the image above
- to learn how to work with TextBoxes, click here (TBD)
Icons #
A perfect way to visually represent ideas because they’re minimalistic while providing the perfect visual balance to offset your content
- in the detail panel, there’s a long list of icons to choose from, a collection of recently used ones, and a search engine. You can also choose the colour.
- to learn how to work with Icons, click here (TBD)

Magnets #
Single-character objects are meant to create focus and command attention.
Very useful when it comes to creating letter tiles.
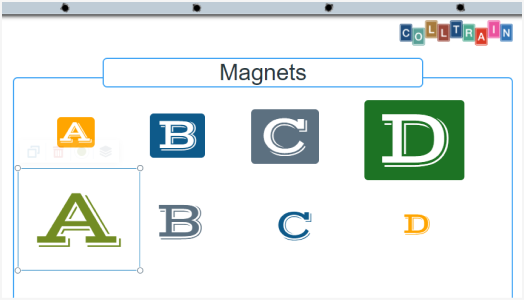
They come in the shape of letters, numbers, and symbols and you can set their style and colour from the detail panel (area 2 in the image above)
To learn how to work with Magnets, click here

Shapes #
Geometrical shapes enhance your activity’s visual and don’t require any other graphical design app to use in your design workflow.
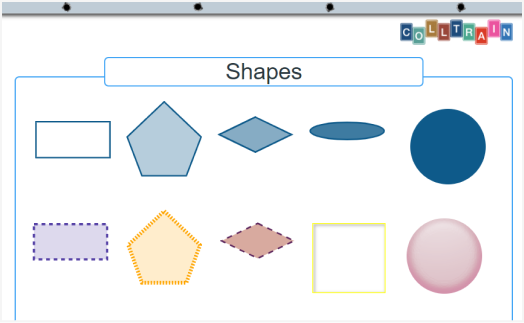
- choose the shape you want, its width and the style of the stroke, apply some effects, and set the colour of the stroke or fill the shape
- to learn how to work with Shapes, click here (TBD)

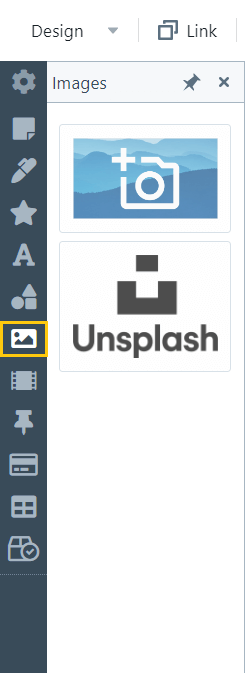
Images #
Photos help you engage your participants more than text alone, especially in online sessions.
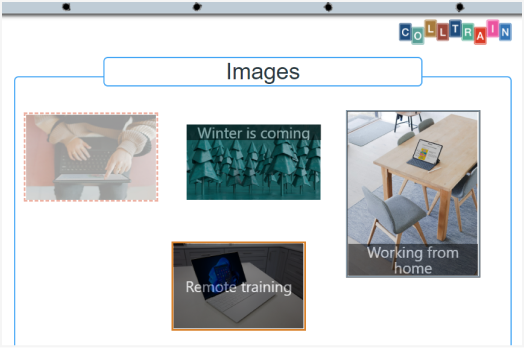
You can use the Unsplash database to upload an image, you can select an image from your computer or you can include one using the link to any image available on the internet. To learn how to work with Images, click here (TBD)
Media #
Enables you to build a blended learning experience, consolidate information from different sources, display your branding and protect your content.
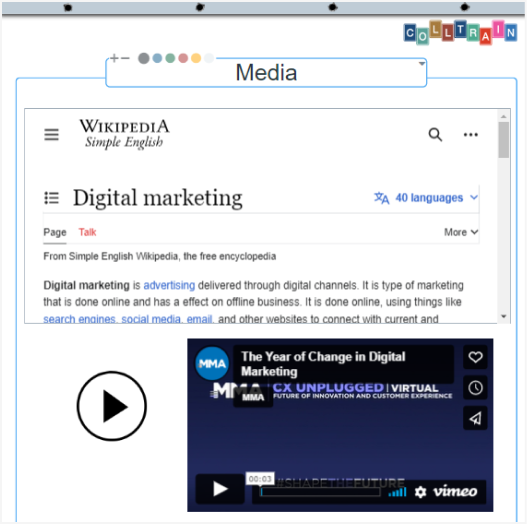
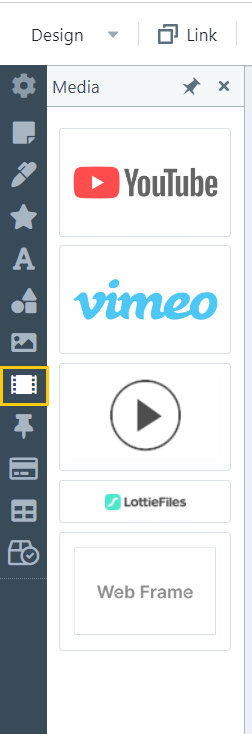
Add different types of media by accessing the respective field in the detail panel. To learn how to work with Media, click here (TBD)
Card lists #
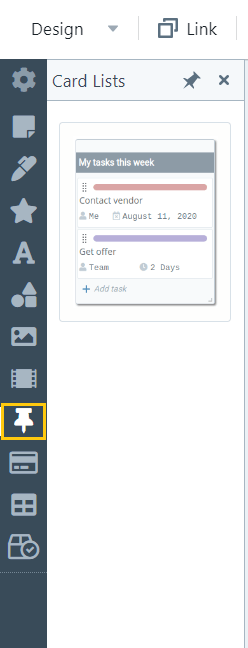
The perfect layout for vertical lists of tasks
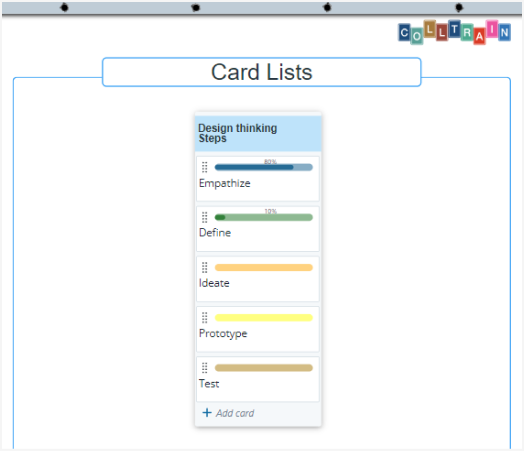
Create a list of tasks by clicking on the template in the detail panel. To learn how to work with Media, click here (TBD)
StoryBoard Cards #
Help you put together messages and photos to tell more with less content.
Think of creativity training, Business Presentations, storytelling, and co-creation workshops.
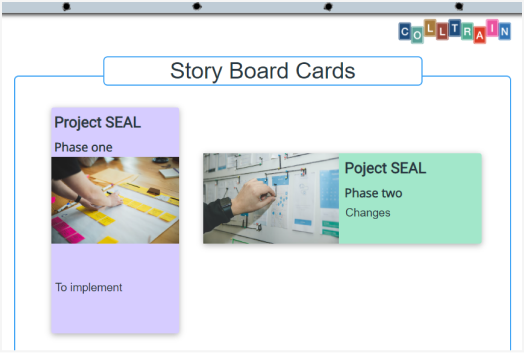
StoryBoard Cards come in two types (portrait/landscape format), and both include images and text.
To learn how to work with StoryBoard Cards, click here (TBD)
Tables #
can be used as a grid base for activities, combined with other objects as it accepts Notes, Magnets, Icons or Images, and they implement specific behaviours for the contained objects.
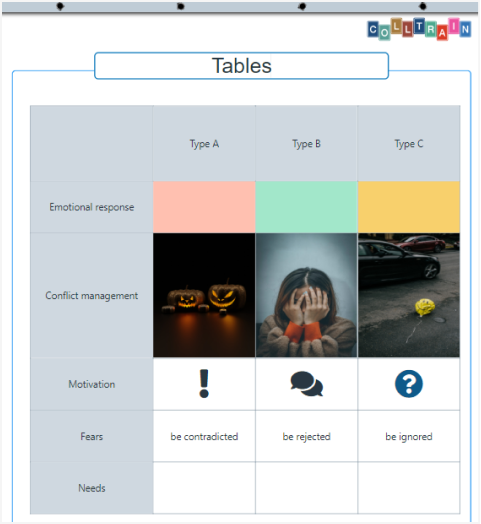
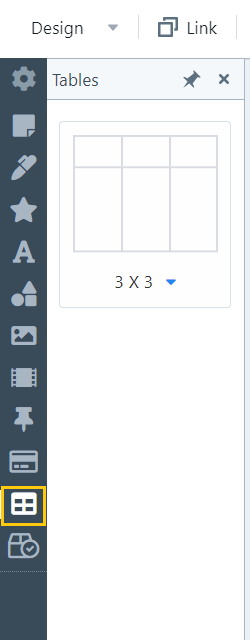
Create tables of different sizes by accessing the configurator in the detail panel.
You can edit their appearance from the objectțs toolbar that appears on top of it. To learn how to work with Tables, click here (TBD)
Containers #
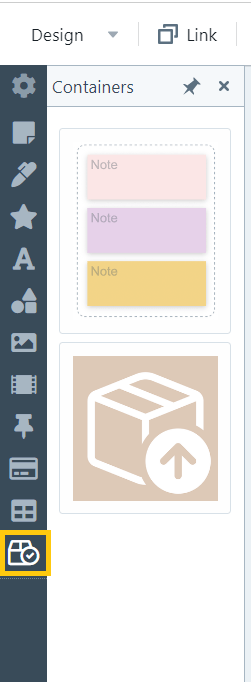
Containers can host collections of other flipchart objects. Think about a basket or bucket where you can put many things in one place.
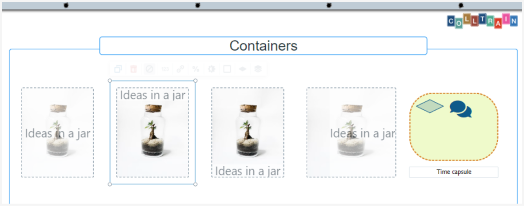
They come in two formats, frame and box; the first keeps the objects inside visible, while the latter hides them behind a picture. This way you can cover multiple-use scenarios. Both can be accessed from the detail panel. To learn how to work with Tables, click here (TBD)
Task for you: start a flipchart activity, insert on the page at least one object of each type and edit them to create something amazing.


